Welcome to our comprehensive guide on LinkedIn SEO, where we will delve into the art and science of optimizing your LinkedIn profile. Having a LinkedIn profile is just the beginning; to truly make the most of this powerful networking tool, you need to optimize it for search engines.
So, let’s embark on this journey together, as we explore the world of LinkedIn SEO and unlock the full potential of your professional online presence.
How LinkedIn SEO can enhance your professional visibility
LinkedIn is the largest professional social network globally, boasting over 950 million users from 200 countries, with 65 million decision-makers among them. Consequently, it’s the go-to platform for brands looking to expand internationally.
For professionals, LinkedIn offers a myriad of opportunities:
Showcasing Yourself
LinkedIn allows you to present yourself professionally and make a strong first impression. A well-crafted profile speaks volumes about your commitment to your career.
Building Your Personal Brand
Your LinkedIn profile is your personal brand hub. It’s where you can define who you are, what you do, and what you stand for. A strong personal brand can open doors to various opportunities.
Networking and Connections
LinkedIn provides a unique platform to connect with professionals in your field. These connections can lead to new job prospects, collaborations, and valuable industry contacts.
Finding Clients and Partners
Whether you’re a freelancer, entrepreneur, or business professional, LinkedIn offers a pool of potential clients and partners. A compelling profile can attract these opportunities.
Sharing Insights and Expertise
LinkedIn is not just about job hunting; it’s also about sharing your thoughts and expertise. A well-structured profile can position you as an industry thought leader.
However, it all starts with crafting a professional and engaging LinkedIn profile. Your profile is your digital business card and can be a gateway to numerous opportunities in the professional world.
Setting Up Your LinkedIn Profile
Your LinkedIn profile is your digital business card, and it should make a strong first impression. To get started, here are some essential steps to consider:
Step #1: Optimize Your Profile URL
Begin by customizing your LinkedIn profile URL. Remove any unnecessary numbers and symbols to make it easy for users to read and remember. Also, avoid using Cyrillic characters in your URL, as it can transform into a long, unintelligible string of characters.

Having a personalized LinkedIn URL is more important than you might think. It offers several benefits:
- A custom URL looks more professional and makes it easier for others to find and remember your profile.
- It helps reinforce your personal brand, especially if you use your name or a variation of it in the URL.
- Customized URLs can improve your visibility in search engine results (SEO). They are more likely to appear when someone searches for your name or keywords related to your expertise.
- A shorter, customized URL is easier to share on business cards, email signatures, and resumes.
Follow these steps to create a custom LinkedIn URL:
- Open your web browser, visit LinkedIn, and log in to your account.
- Click on your profile picture or your name to access your LinkedIn profile.
- On the right side of your profile page, you’ll see a section labeled “Edit public profile & URL.” Click on the “Edit” link next to your current URL.
- In the pop-up window, you can edit your LinkedIn URL. Typically, LinkedIn generates a URL with your name and some numbers. Erase the numbers and customize it with your name, a variation of your name, or a relevant keyword if it’s available.
- LinkedIn will indicate if the custom URL you’ve chosen is available. If it’s already in use, you might need to try a different variation.
- Once you’ve chosen an available custom URL, click the “Save” button. LinkedIn will confirm that your changes have been saved.
- Your LinkedIn profile will now have the customized URL you selected. You can share this URL on your resume, in your email signature, on business cards, and across your professional network.
Remember that once you’ve customized your LinkedIn URL, it’s a permanent change. Make sure to choose a URL that reflects your professional identity and is easy for others to remember.
Step #2: Multilingual Profile
If you’re planning to expand your services to international markets, consider adding multiple languages to your profile. This helps you connect with a broader audience and showcases your global versatility. If you have a website or an online portfolio, be sure to link to it as well.
Step #3: Activate Creator Mode
LinkedIn’s Creator Mode is a valuable tool for content creators. Enabling this mode allows you to better showcase your expertise, share insights, and engage with your audience. It signals to others that you’re active and engaged on the platform.
Step #4: Add a Professional Photo
Your personal photo is the very first thing that LinkedIn users notice about you. Therefore, it’s crucial to make it memorable. Here are some recommendations to help you create an impactful LinkedIn profile picture:
Ensure that your face occupies about 50% of the space in the photograph. This allows users to clearly see your facial features and make a personal connection.
Choose a background that is neutral and unobtrusive, such as white, gray, or a softly blurred backdrop. A clean background helps keep the focus on you.
Dress in professional attire that is suitable for your industry or field. It’s important to project a polished and businesslike image on LinkedIn.
A light, approachable smile can make you appear more personable and inviting. It’s a subtle but effective way to convey friendliness and approachability.
Your LinkedIn profile photo is your digital handshake, so invest in a high-quality, professional-looking image that represents you in the best light.

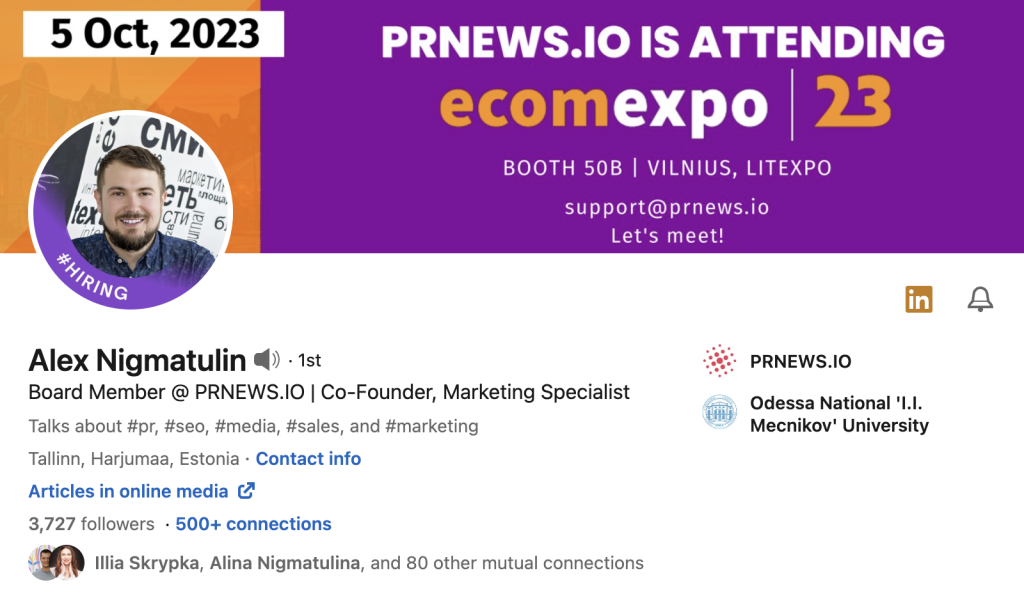
Step #5: Create a Cover Photo
Many LinkedIn users underestimate the importance of a cover photo, but it can be a powerful visual tool to convey your experience and services. The recommended dimensions for a personal profile cover photo are 1584×396 pixels.
Your cover photo should showcase the essence of your industry or profession. Consider adding an image of your workspace, products, or anything that represents what you do.
Use your cover photo as a means to communicate with potential clients. You can incorporate your slogan or highlight how you assist your clients.
It’s advisable to maintain a consistent visual style across your entire profile, including your cover photo. This consistency can be achieved by using corporate fonts, logos, colors, and other branding elements if you have them. If you don’t have a unique style yet, it’s worth considering one.

Step #6: Craft Your Headline
Your LinkedIn headline is a short, impactful statement that introduces you to the LinkedIn community. It should reflect your job title, professional identity, skills, and industry. Unfortunately, many users limit their headlines to just their job titles. To make your headline more compelling, consider the following tips:
- Don’t simply list your job title; explain how you can help your target audience. For example, mention how you can boost sales, create a unique corporate identity, or increase ROI.
- Back up your claims with facts. If you’ve achieved specific results, such as increasing ROI by 30%, include it in your headline.
- Keep your headline concise and to the point. Remember, you have a limit of about 120 characters. Use keywords that make it easier for clients or connections to find you.
- Your headline has a character limit, so make every word count. Aim for brevity while conveying your key professional attributes.
- Begin your headline with action verbs. Words like “innovator,” “strategist,” or “entrepreneur” immediately convey your role and impact.

Real-Life Examples of Effective Headlines:
- “Digital Marketing Specialist | Driving ROI through Data-Driven Strategies”
- “Experienced Project Manager | Delivering On-Time, On-Budget Projects”
- “Creative Graphic Designer | Transforming Ideas into Visual Masterpieces”
- “Sales Leader | 10+ Years of Sales Excellence | Consistently Exceeding Targets”
- “Software Engineer | Full Stack Developer | Building Innovative Solutions”
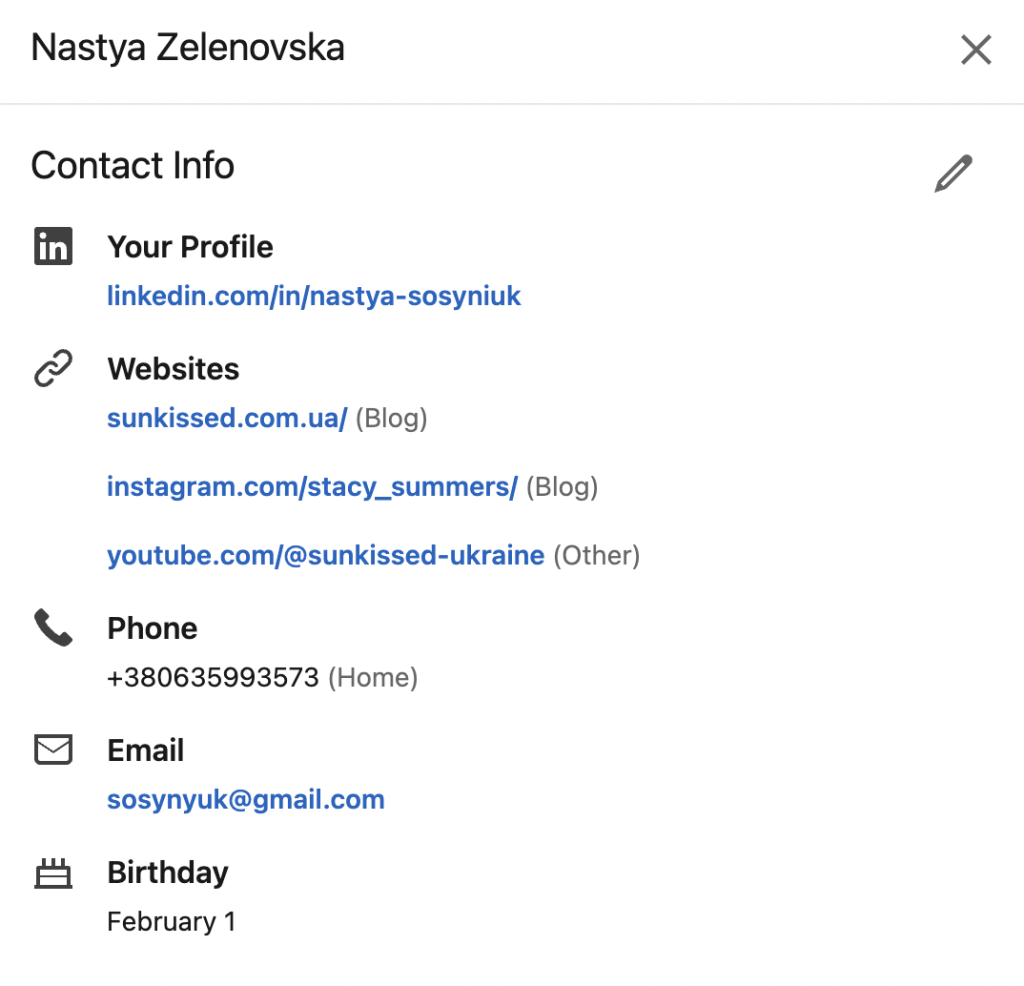
Step #7: Add Contact Information
Including contact information on your LinkedIn profile is a simple way for potential clients or connections to reach out to you. LinkedIn allows you to add various contact details, such as:
- Provide your professional email address for easy communication.
- Link to your personal or business website to provide more information about your services or portfolio.
- If you’re comfortable sharing it, you can add your phone number for direct contact.
- Sharing your birthday can be a personal touch but is optional.
- Connect your other social media accounts like Facebook or Twitter to your LinkedIn profile.
Step #8: Specify the Services You Offer
To help potential clients understand how you can assist them, list the services you provide on your LinkedIn profile. For example, you can include services like SEO optimization, brand material development, comprehensive marketing services, and more. Enrich your descriptions with relevant keywords to make it easier for people to find you.
By specifying the services you offer, you not only provide clarity to your profile visitors but also increase the chances of being discovered by individuals seeking those specific services. It’s an effective way to demonstrate your expertise and attract clients who are looking for your particular skillset.
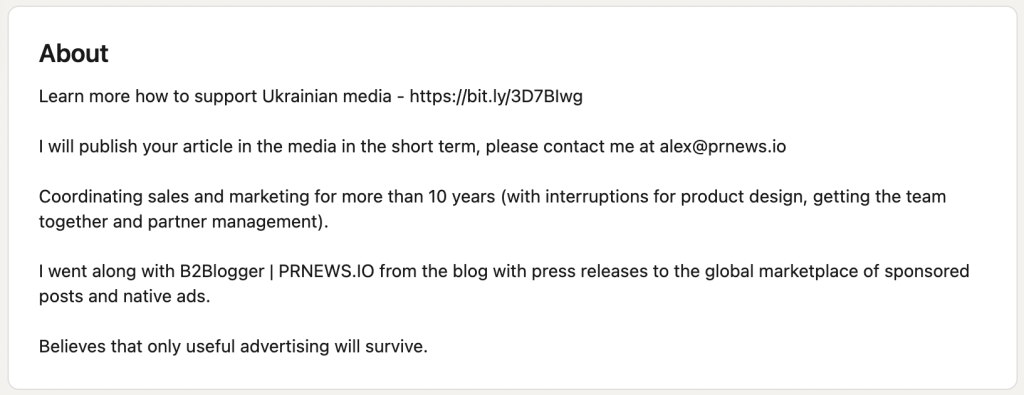
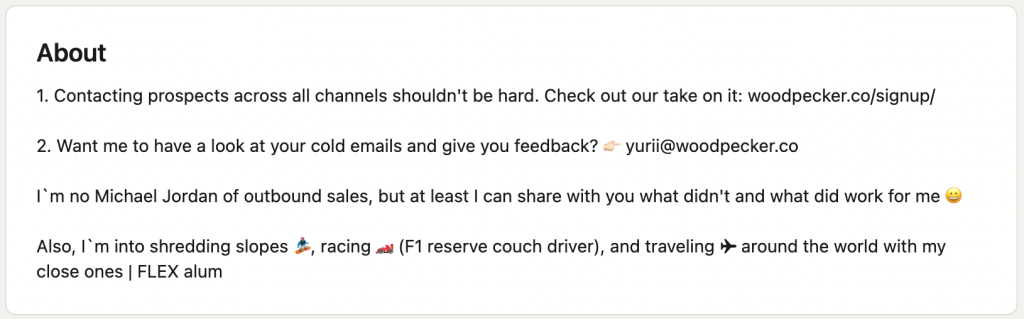
Step #9: Add Information About Yourself
This is the most crucial step where you have the opportunity to fully showcase your expertise on your LinkedIn profile. There’s no one-size-fits-all approach because every professional is unique.
Here are some tips on how to effectively present yourself:
Clarify what you do in your current position and what your responsibilities entail. Provide a concise overview of your professional journey.
Showcase your accomplishments, emphasizing your experience and expertise. Share specific projects or milestones you’ve achieved in your career.
Explain how your services benefit clients and why they should consider working with you. Highlight the value you bring to potential clients or employers.
Share a bit about yourself as a person. Mention your interests, hobbies, or any personal qualities that set you apart. This humanizes your profile and makes it more relatable.
Incorporate relevant keywords throughout your profile summary. This makes it easier for users to find your profile through search engines and within LinkedIn.
Organize your content into paragraphs or bullet points to improve readability. It makes your profile more user-friendly and scannable.
Encourage profile visitors to take action, such as connecting with you or reaching out via email. Leave your email address at the end of your summary for easy contact.
Remember that your LinkedIn summary is your opportunity to tell your professional story and engage your audience. It’s where you can truly differentiate yourself and make a compelling case for why others should connect with you or consider your services.
Step #10: Curate Your “Featured” Section
If you publish articles or posts on LinkedIn, don’t hesitate to showcase them in your “Featured” section. This section allows you to display your work prominently on your profile, providing visitors with more insights into your expertise and content. Here’s how to make the most of this section:
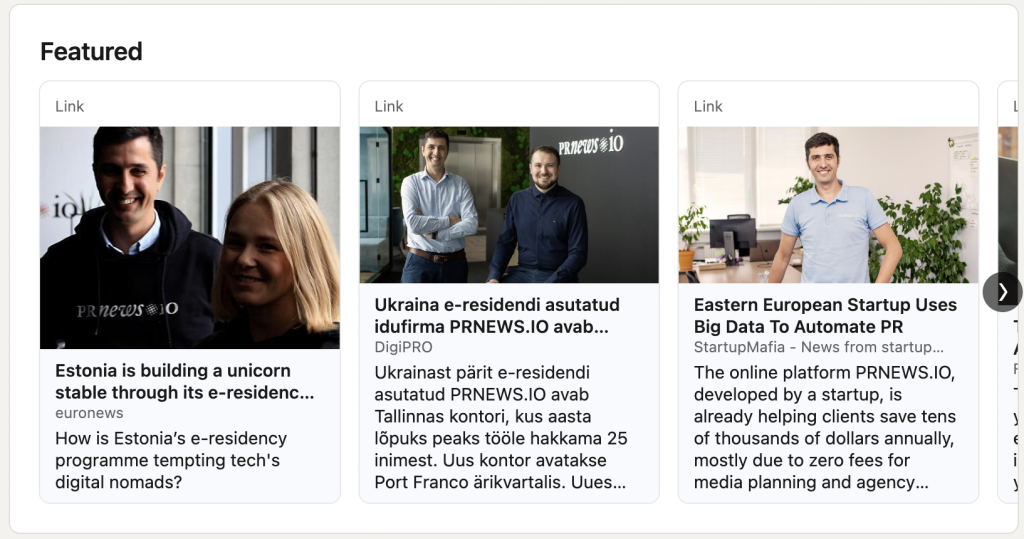
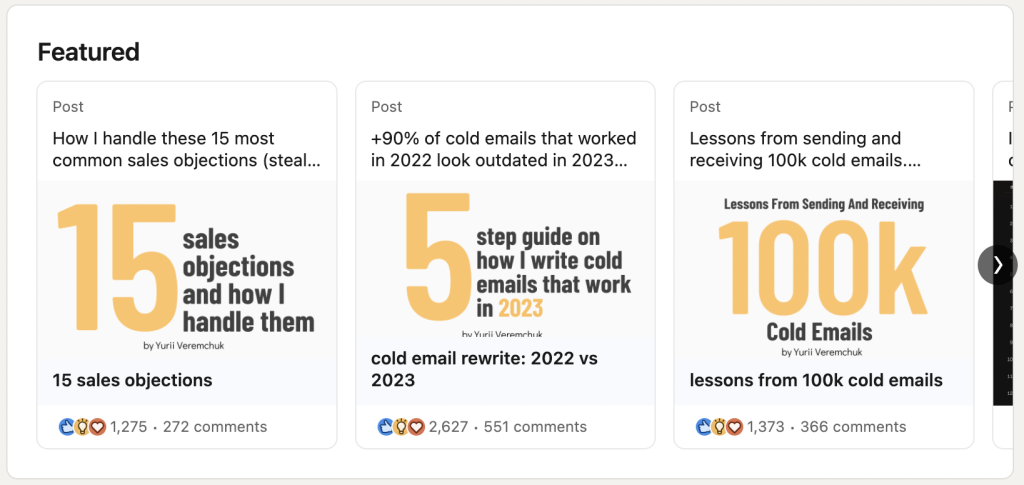
By curating your “Featured” section, you provide visitors with a deeper understanding of your expertise, interests, and the value you bring to the LinkedIn community. It’s an effective way to showcase your thought leadership and accomplishments.
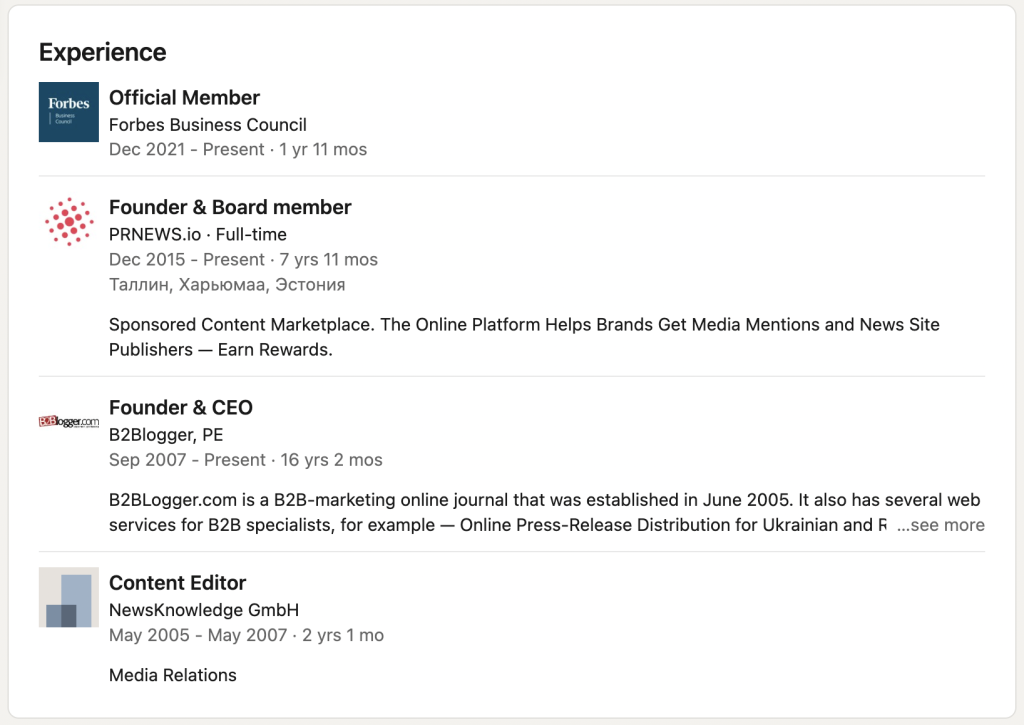
Your work experience on LinkedIn provides a chronological overview of your professional journey. It allows users to track your career progression and form an impression of you as a specialist. Here’s how to effectively showcase your work experience:
List Relevant Positions: Include all relevant positions you’ve held, even if they were part-time or temporary. However, prioritize positions that are directly related to your current role and responsibilities.
Current Position: Ensure that your current position is up to date. Keep your job title, company, and duration accurate.
Detail Each Role: For each position, provide the job title, company name, and the duration of your employment. This gives a clear picture of your career timeline.
Highlight Achievements: Add descriptions and achievements for at least your last three positions. Explain your responsibilities, contributions, and any notable accomplishments. Use quantifiable metrics to demonstrate your impact.
Include Media: Whenever possible, add multimedia materials to your positions. Include presentations, awards, and testimonials to provide evidence of your skills and accomplishments.
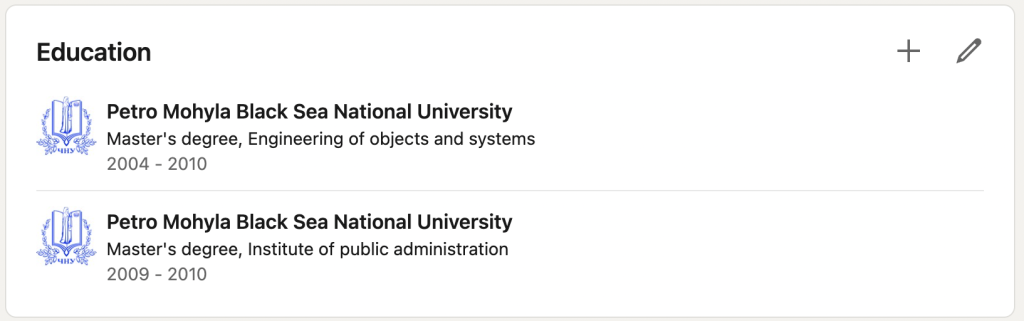
Step #12: Include Your Education
While education isn’t always the deciding factor, it’s still valuable to share information about your educational background. Here’s how to effectively list your education on LinkedIn:
- Add Relevant Details: Include your educational institutions, degrees earned, majors, and graduation dates. For certifications, specify the certification name, granting organization, and date obtained.
- Use Keywords: Incorporate relevant keywords related to your education and certifications. This can improve your profile’s search engine visibility.
- Highlight Achievements: Mention any honors, awards, or relevant coursework that distinguishes your education. For certifications, emphasize their significance in your field.
- Link to Institutions: If your educational institution or certification provider has a LinkedIn page, link to it. This can strengthen your profile’s credibility.
Effectively showcasing your qualifications in this section can make your profile more compelling:
- Order Matters: Arrange your education and certifications chronologically, with the most recent first. This helps viewers understand your academic or certification journey.
- Include Relevant Certifications: Highlight certifications that are directly related to your current or desired role. This shows your commitment to professional development.
- Explain the Relevance: In your descriptions, explain how your education or certifications have contributed to your career or how they benefit your target audience.
Step #13: Add Your Skills
Adding skills to your LinkedIn profile enhances your visibility in search results. Potential clients are more likely to notice you when searching for individuals with specific expertise. Here’s how to effectively list your skills:
Include a Mix of Hard and Soft Skills
Add both hard and soft skills to your profile. You can select up to 50 skills in total. Include a well-rounded mix that reflects your expertise.
Highlight Three Key Skills
Prioritize three skills that best represent your expertise. These will be prominently displayed on your profile and give viewers a quick overview of your strengths.
Endorsement Exchange
Encourage skill endorsements from colleagues, friends, and partners. When others endorse your skills, it adds credibility to your profile and signals your competence to potential clients or employers.
Endorsements play a role in LinkedIn’s search algorithm and can impact your profile’s search engine optimization (SEO) in several ways:
- Improved Search Rankings: Profiles with more endorsements for specific skills are likely to rank higher in search results when users search for those skills.
- Increased Profile Views: A well-endorsed profile can attract more profile views, leading to more networking opportunities and potential job inquiries.
- Enhanced Credibility: A profile with endorsements signals to others that you possess the skills you claim, boosting your credibility and trustworthiness.
Step #14: Request Recommendations
On LinkedIn, you can exchange recommendations with your partners and colleagues. This allows you to build a professional image within your business network.
In the “Recommendations” section on your LinkedIn profile, you can request recommendations from your connections. Click “Ask for a recommendation” and select the connection you’d like to request a recommendation from.
When you receive a recommendation, it’s courteous to write one in return. This helps strengthen your professional relationships and enhances the authenticity of your profile.
Recommendations on LinkedIn serve as testimonials to your skills, character, and work ethic. They can add credibility to your profile and provide potential clients or employers with valuable insights into your capabilities.
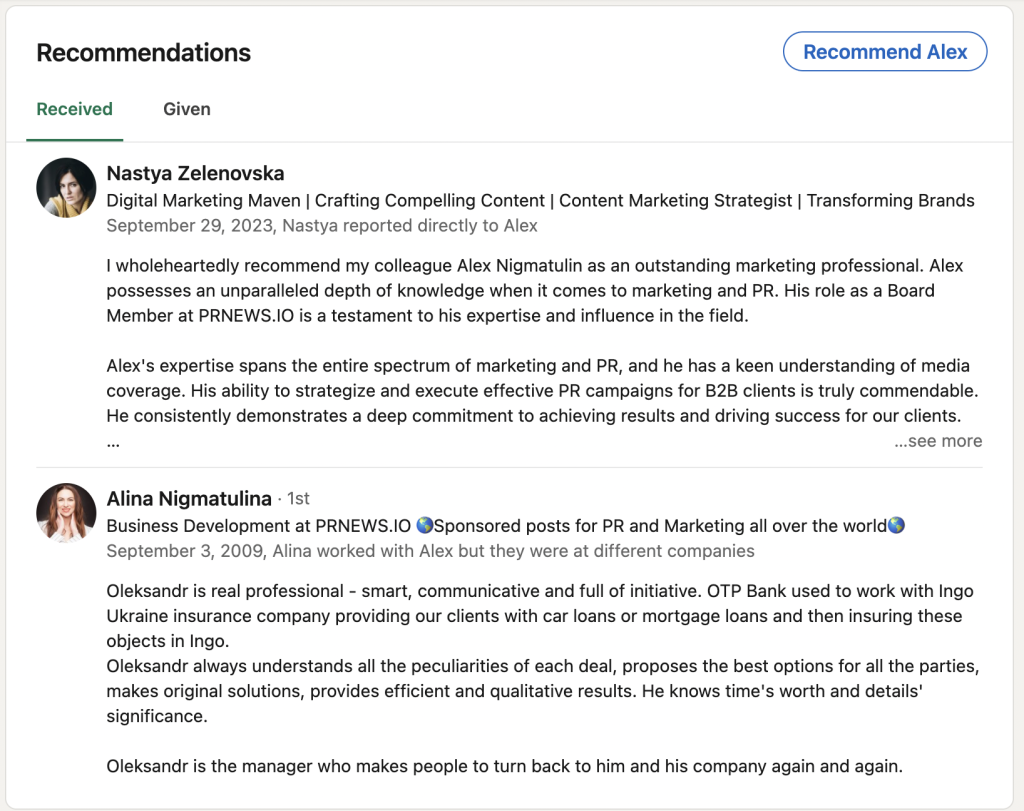
Incorporating recommendations into your LinkedIn profile can significantly enhance your professional image, build credibility, and strengthen your network.
Building a Network: The Role of Connections in LinkedIn SEO
Connections are at the heart of LinkedIn, and they play a crucial role in LinkedIn SEO. Here’s how they impact your profile’s visibility and reach:
Each connection extends your reach to their network. This means more people can discover your profile through first, second, or third-degree connections. Having a robust network can improve your profile’s visibility in LinkedIn search results. When people search for professionals with specific skills or expertise, LinkedIn may prioritize profiles with more connections.
A substantial network can serve as social proof of your professional reputation and expertise, reinforcing your credibility. To maximize the benefits of connections for LinkedIn SEO, consider these strategies for expanding your network:
Send connection requests to colleagues, classmates, professional acquaintances, and others you’ve interacted with in your industry. When sending connection requests, personalize your messages. Explain why you’d like to connect and how you can mutually benefit from the connection.
Participate in LinkedIn groups relevant to your industry or interests. Engaging in discussions and connecting with group members can help you expand your network. Join alumni networks of your educational institutions. Alumni often share a common bond and are more likely to connect.
Attend virtual or in-person LinkedIn events and connect with participants you meet there. Follow thought leaders and influencers in your field. Engaging with their content can lead to connections with like-minded professionals.
What’s Next? LinkedIn SEO
Certainly, thorough profile optimization is just the first step towards building a personal brand on LinkedIn. To make the most of this professional platform, you should expand your network, follow interesting individuals, share your thoughts, and demonstrate your expertise. The best way to achieve this is by creating quality content.
Write about topics that resonate with your target audience, articulate your viewpoints, and provide insights on how to accomplish tasks within your expertise. Building a strong personal brand on LinkedIn takes time, but it’s worth the effort.
Allocate just 30 minutes a day to engage with LinkedIn, and you’ll soon start to see results. Consistent efforts in networking, content creation, and sharing will help you grow your professional presence, connect with valuable contacts, and establish yourself as an industry expert.
Content Marketing Platform
- 100,000+ media publications;
- get backlinks to your product;
- scale work with content distribution.